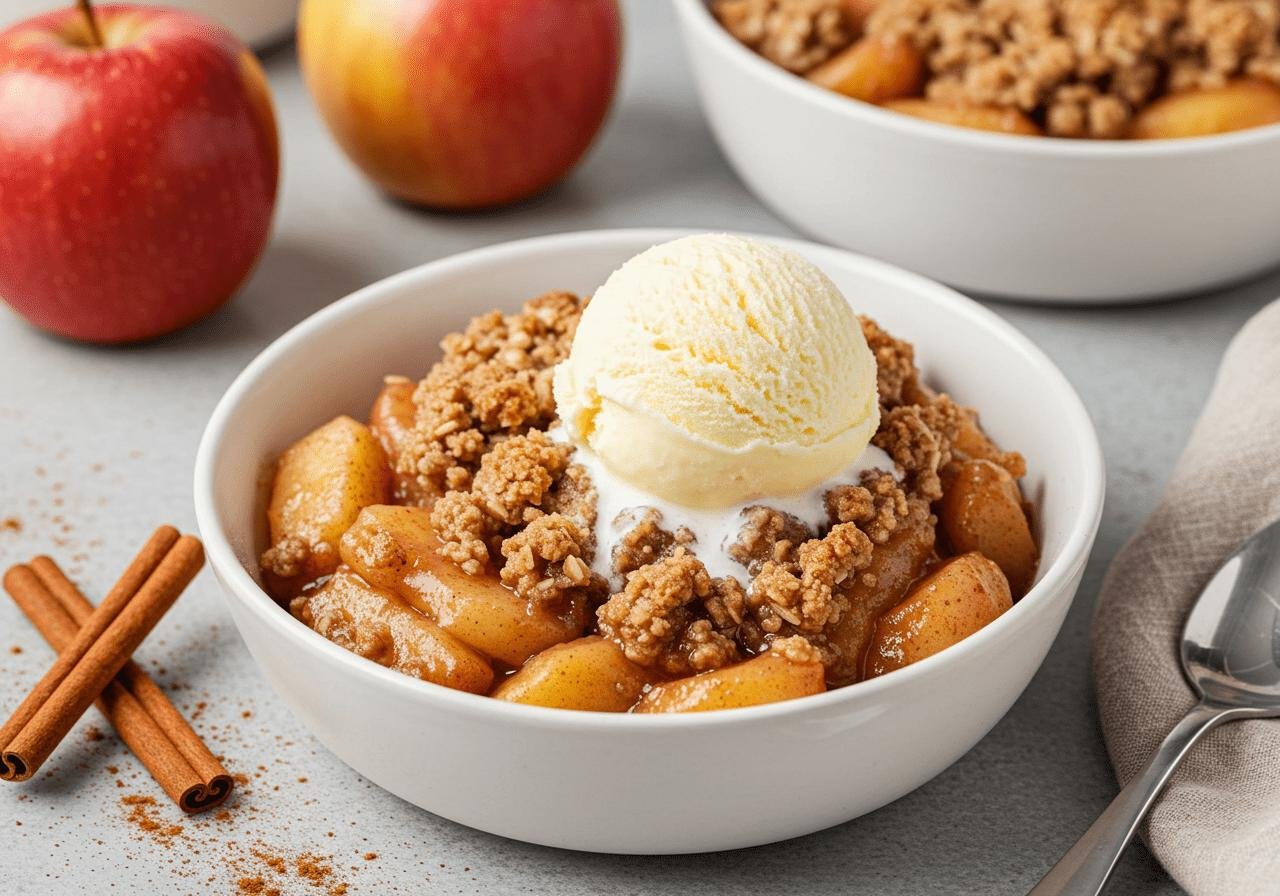
Classic Apple Crisp is a comforting baked dessert made with tender, cinnamon-spiced apples and a buttery brown sugar oat topping. As it bakes, the apples soften into a naturally sweet filling while the topping turns golden and crisp.
This easy apple crisp recipe uses simple pantry ingredients and comes together without making a pie crust. Serve it warm from the oven with a scoop of vanilla ice cream for a cozy fall dessert, a holiday gathering, or an everyday family treat.
Recipe Overview
| Detail | Information |
|---|---|
| Prep Time | 20 minutes |
| Cook Time | 40–45 minutes |
| Total Time | 1 hour 5 minutes |
| Servings | 8 |
| Difficulty | Easy |
| Oven Temperature | 350°F (175°C) |
Why You’ll Love This Recipe
-
Simple ingredients: Apples, oats, flour, butter, cinnamon, and brown sugar create a satisfying homemade dessert.
-
No pie crust required: The oat topping is much easier to prepare than traditional pastry.
-
Wonderful texture: Soft, juicy apples contrast with a golden, crumbly topping.
-
Easy to prepare ahead: Assemble the components in advance and bake when needed.
-
Great for sharing: A baking dish makes it easy to serve at family dinners, Thanksgiving, and fall gatherings.
Ingredients
For the Apple Filling
-
6 medium apples (about 2½ pounds), peeled, cored, and sliced
-
⅓ cup granulated sugar
-
1 tablespoon all-purpose flour
-
1 tablespoon lemon juice
-
1 teaspoon ground cinnamon
-
¼ teaspoon ground nutmeg
-
1 teaspoon vanilla extract
-
¼ teaspoon salt
For the Crisp Topping
-
1 cup old-fashioned rolled oats
-
¾ cup all-purpose flour
-
¾ cup packed light brown sugar
-
½ teaspoon ground cinnamon
-
¼ teaspoon salt
-
½ cup (1 stick) unsalted butter, melted
Ingredient Notes
Apples: A combination of Granny Smith and Honeycrisp apples works particularly well. Granny Smith apples provide a pleasant tart flavor, while Honeycrisp apples add natural sweetness. Braeburn and Pink Lady are also suitable choices.
Old-fashioned oats: These give the topping a hearty, chewy-crisp texture. Avoid instant oatmeal because it can make the topping softer.
Brown sugar: Light brown sugar adds a mild molasses flavor and helps the topping develop a golden color.
Butter: Unsalted melted butter binds the topping ingredients together. Allow it to cool slightly before mixing.
Lemon juice: A little acidity balances the sweetness and helps maintain the apples’ fresh flavor.
How to Make Classic Apple Crisp
1. Prepare the Oven and Baking Dish
Preheat your oven to 350°F (175°C). Lightly grease a 9-by-9-inch baking dish with butter or nonstick cooking spray.
2. Prepare the Apples
Peel, core, and slice the apples into approximately ¼-inch-thick pieces.
Place them in a large mixing bowl. Add granulated sugar, flour, lemon juice, cinnamon, nutmeg, vanilla extract, and salt.
Toss until the apple slices are evenly coated.
3. Transfer the Apple Filling
Spread the seasoned apples evenly into the prepared baking dish.
Arrange them in a relatively even layer so they cook at the same rate.
4. Make the Oat Topping

In a separate bowl, combine the rolled oats, flour, brown sugar, cinnamon, and salt.
Pour in the melted butter. Stir with a fork until the mixture forms moist, uneven crumbs.
The topping should hold together slightly when pressed but remain crumbly.
5. Add the Topping
Sprinkle the oat mixture evenly over the apples.
Do not press it down firmly. Keeping the topping loose allows it to bake into a crumbly, crisp layer.
6. Bake the Apple Crisp
Place the baking dish in the preheated oven and bake for 40–45 minutes.
The apple filling should be bubbling around the edges, and the topping should look golden brown.
To check the apples, insert a small knife through the center. It should slide into the fruit with little resistance.
7. Cool and Serve
Remove the dish from the oven and allow it to rest for approximately 15–20 minutes.
This gives the filling time to settle and thicken slightly.
Serve warm with vanilla ice cream, whipped cream, or a drizzle of caramel sauce.
Expert Tips
-
Choose the right apples: Firm apples hold their shape better during baking. Avoid varieties that become overly soft when cooked.
-
Slice evenly: Similar-sized apple slices cook more consistently.
-
Keep the topping crumbly: Mix the butter into the dry ingredients just until moist crumbs form.
-
Avoid excessive moisture: If your apples are particularly juicy, the tablespoon of flour in the filling helps absorb some of the released liquid.
-
Let it rest: Serving immediately after baking can make the filling appear too runny. A short resting period helps it thicken.
-
Watch the topping: If it browns too quickly before the apples soften, loosely cover the dish with foil for the remaining baking time.
Common Mistakes to Avoid
Using only very soft apples: These can break down into applesauce during baking. Choose firm baking apples instead.
Cutting the apples too thick: Thick slices may remain firm even when the topping is fully baked.
Overmixing the topping: Mixing too much can create a dense layer rather than a light, crumbly texture.
Adding too much butter: Excess butter can make the topping greasy instead of crisp.
Skipping the resting time: The filling needs a little time to settle after coming out of the oven.
Easy Variations
-
Apple Pecan Crisp: Add ½ cup chopped pecans to the oat topping for extra crunch.
-
Apple Cranberry Crisp: Add ½ cup fresh or frozen cranberries to the apple filling for a tart contrast.
-
Maple Apple Crisp: Replace 2 tablespoons of the granulated sugar with pure maple syrup.
-
Caramel Apple Crisp: Drizzle caramel sauce over the baked dessert just before serving.
-
Gluten-Free Apple Crisp: Use certified gluten-free oats and a suitable gluten-free all-purpose flour blend.
Ingredient Substitutions
| Original Ingredient | Substitute |
|---|---|
| Granny Smith apples | Honeycrisp, Pink Lady, or Braeburn |
| Light brown sugar | Dark brown sugar |
| Unsalted butter | Salted butter, reducing added salt |
| Old-fashioned oats | Certified gluten-free rolled oats |
| All-purpose flour | Gluten-free baking flour blend |
| Ground nutmeg | Additional cinnamon or a pinch of allspice |
Keep in mind that changing the apple variety can affect the sweetness and moisture of the filling.
What to Serve With Classic Apple Crisp
-
Vanilla ice cream: Its cool, creamy texture contrasts beautifully with the warm apples and crisp topping.
-
Whipped cream: A light topping that doesn’t overpower the cinnamon flavor.
-
Caramel sauce: Adds buttery sweetness and works especially well with tart apples.
-
Hot coffee: A cup of coffee makes apple crisp a lovely afternoon or after-dinner dessert.
-
Chai tea: Its warm spices complement the cinnamon and nutmeg in the filling.
Storage & Reheating
Refrigerator: Allow leftover apple crisp to cool, then cover the baking dish or transfer portions to an airtight container. Refrigerate for up to 4 days.
Freezing: Apple crisp can be frozen after baking. Cool completely, wrap securely, and freeze for up to 3 months for best quality. Thaw overnight in the refrigerator before reheating.
Oven reheating: Place the crisp in an oven-safe dish and warm at 325°F (165°C) for approximately 15–20 minutes, or until heated through. The oven helps restore some of the topping’s crispness.
Microwave reheating: Heat individual portions in short intervals until warm. The topping will be softer than when reheated in the oven.
Frequently Asked Questions
1. What are the best apples for classic apple crisp?
Granny Smith and Honeycrisp are excellent choices. Granny Smith apples provide tartness, while Honeycrisp apples bring natural sweetness. You can also use Pink Lady, Braeburn, or a combination of baking apples.
2. Should I peel apples for apple crisp?
Peeling is recommended for a softer, more traditional filling. Apple skins can become noticeable after baking, although leaving them on is a matter of personal preference.
3. Why is my apple crisp topping not crunchy?
Too much butter, excessive moisture, or tightly packed topping can make it soft. Use the measured butter quantity, keep the topping loose, and bake until golden brown.
4. Can I prepare apple crisp ahead of time?
Yes. You can prepare the apple filling and topping separately up to one day ahead. Refrigerate them in separate covered containers and assemble just before baking for a fresher topping.
5. Can I make apple crisp without oats?
Yes. Replace the oats with an additional 1 cup of all-purpose flour, although the topping will have a more traditional crumbly texture rather than the hearty texture of an oat crisp.
6. How do I know when apple crisp is done?
The topping should be golden brown, the filling should bubble around the edges, and a knife should slide easily into the apple slices.
Final Thoughts
Classic Apple Crisp is a straightforward homemade dessert that brings together tender cinnamon apples and a buttery oat topping. It requires no complicated techniques or pastry preparation, making it a practical choice whenever you want a warm fruit dessert. Serve it fresh from the oven with vanilla ice cream for a simple finishing touch.
Leave a Reply